Code sample
Project creation
To help you understand and include our API, we have made a small example. This example will be a ASP.Net Core with React.js Project. In case you wish to make your own site in a different web-language you are free to do so, just be aware that certain syntaxes may need to be adjusted to work for your language.
Since React.js is based on JavaScript you can almost export all the methods “one to one” except the variable handling, since that includes React specific extensions.
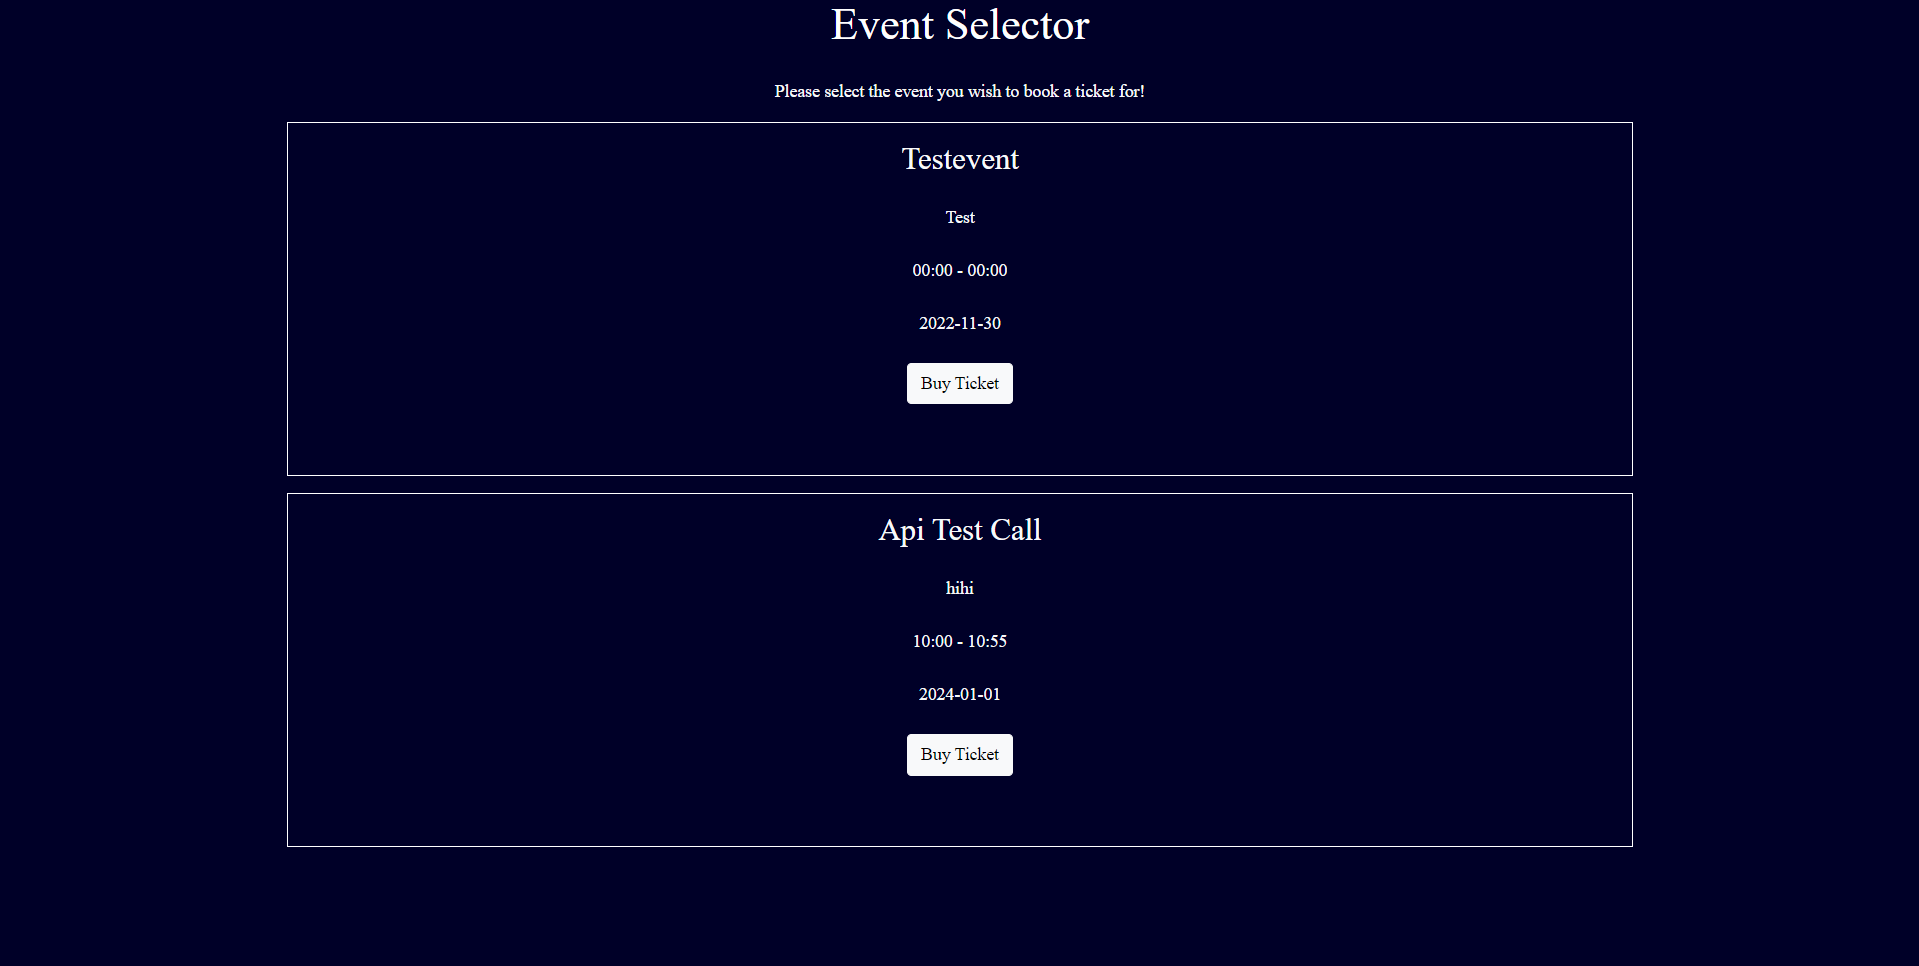
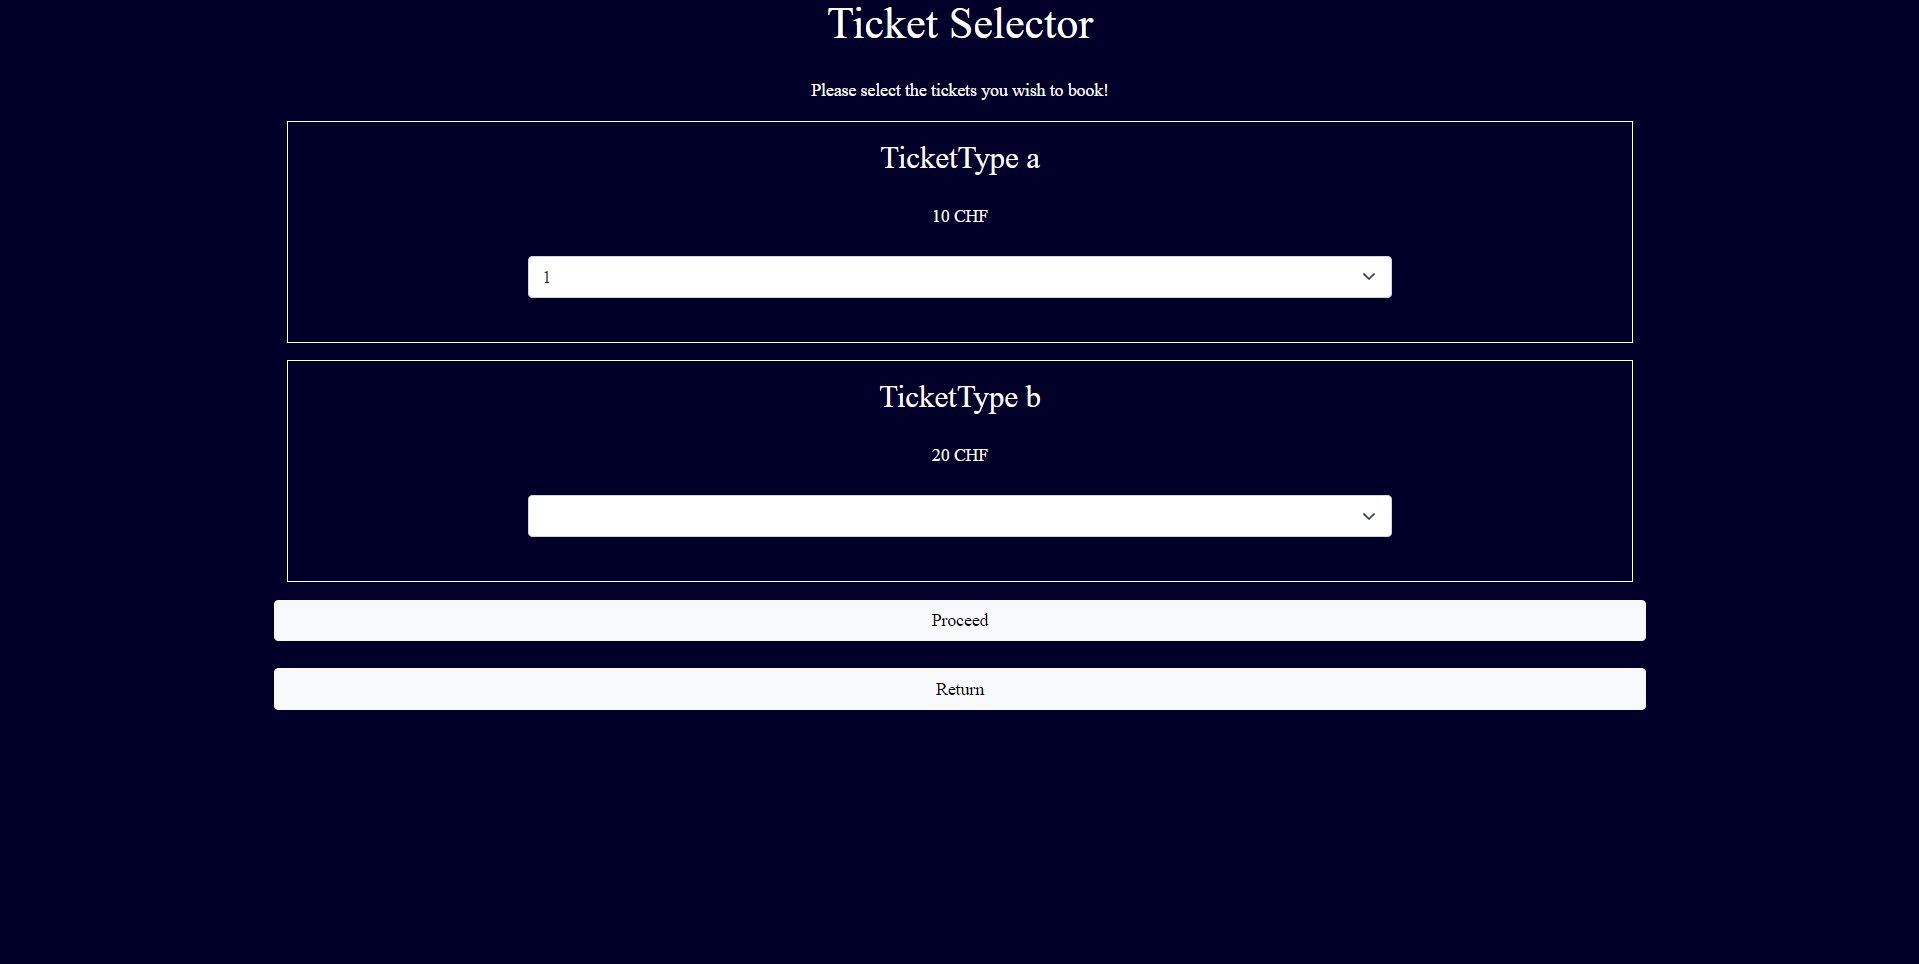
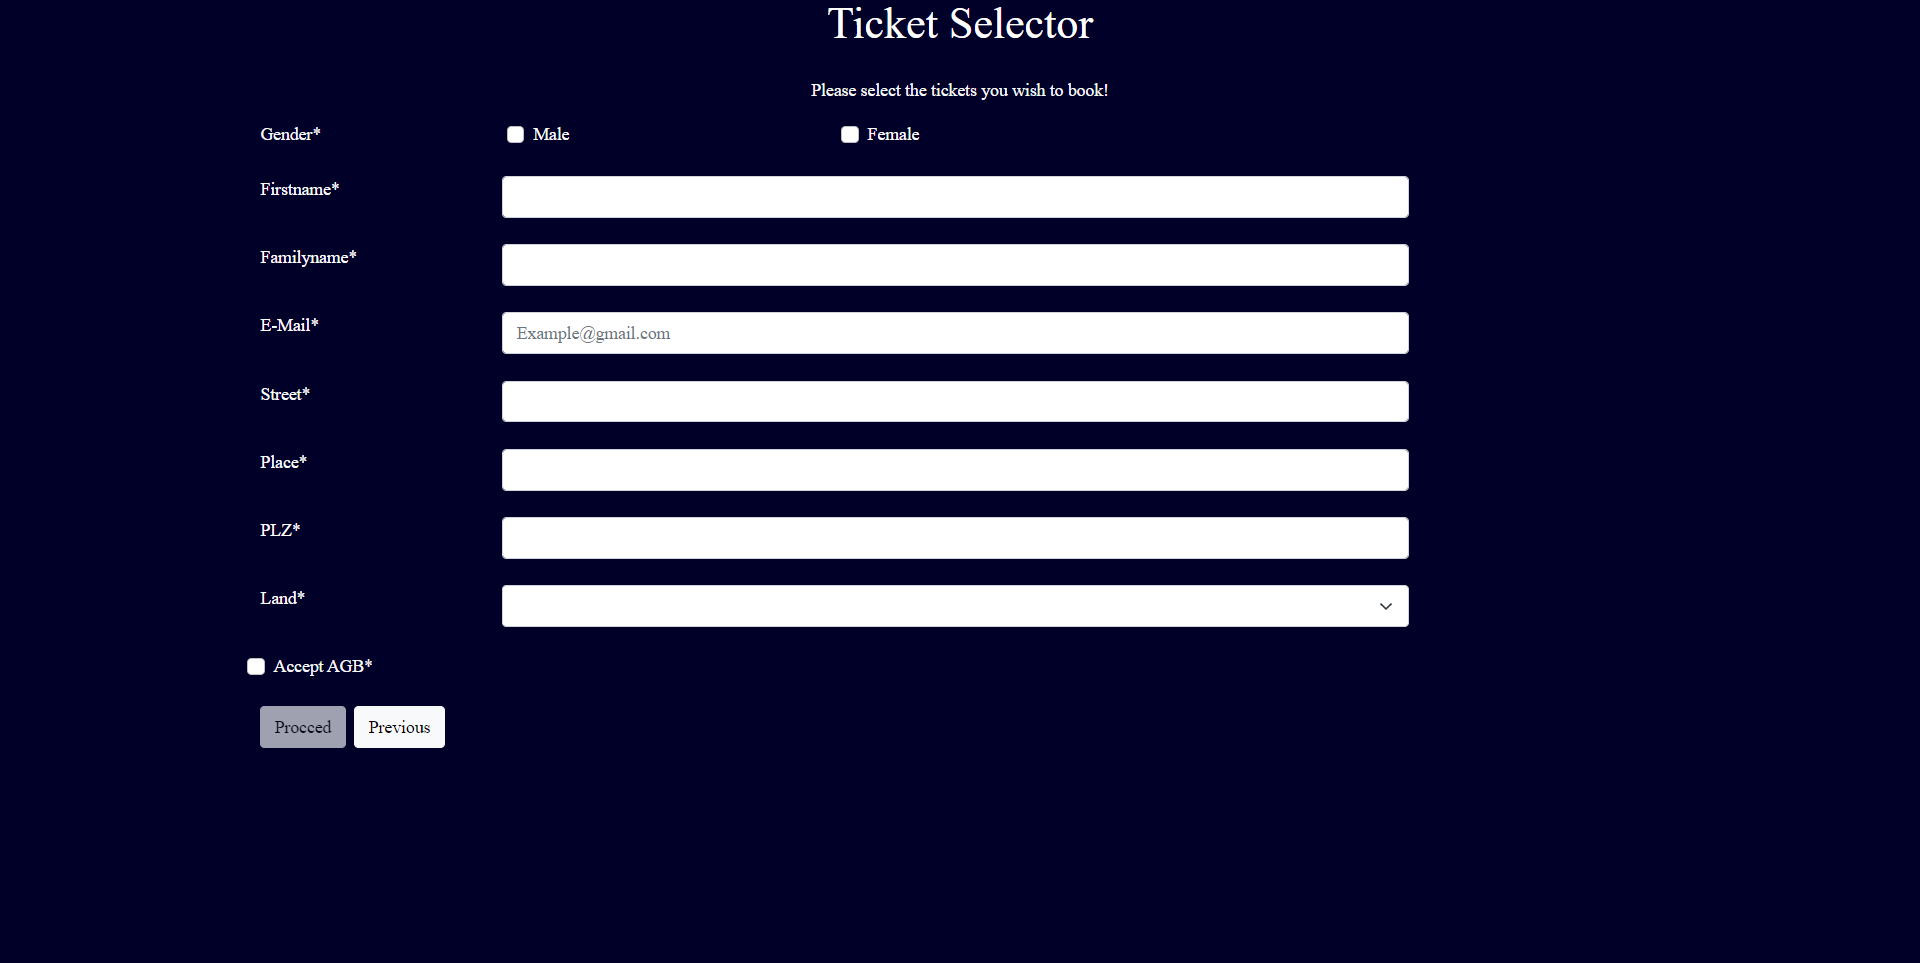
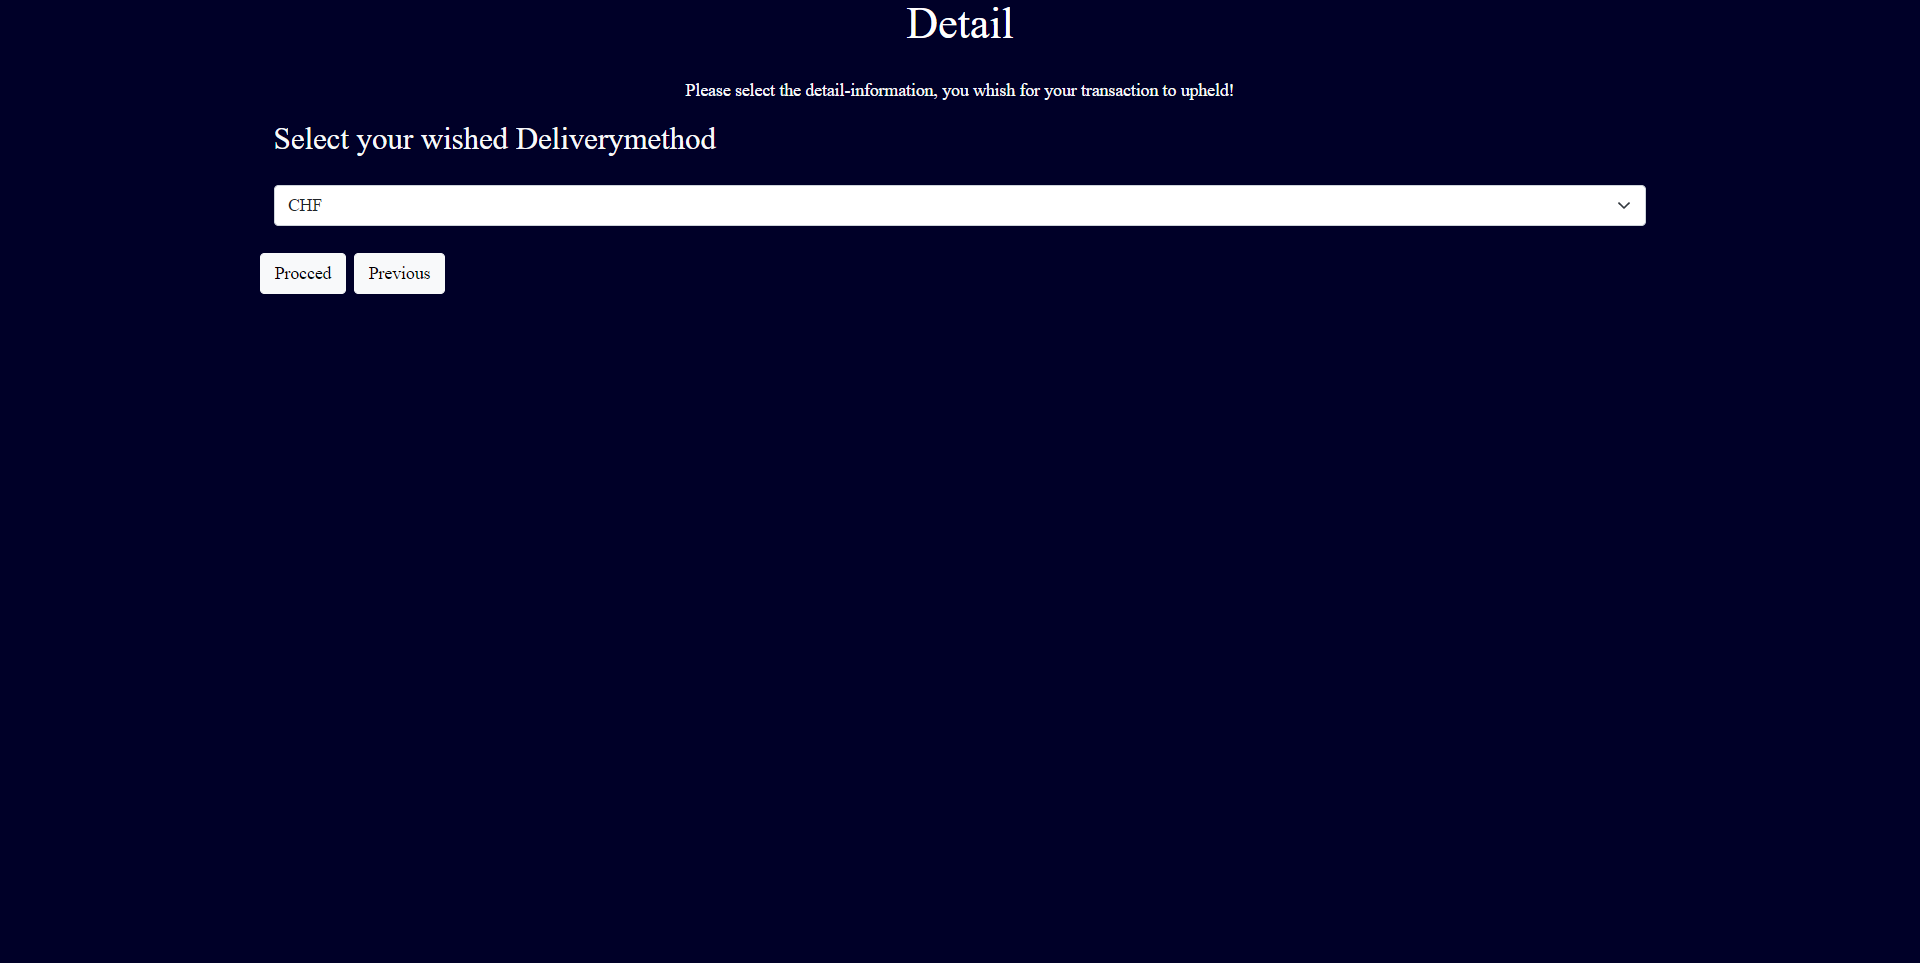
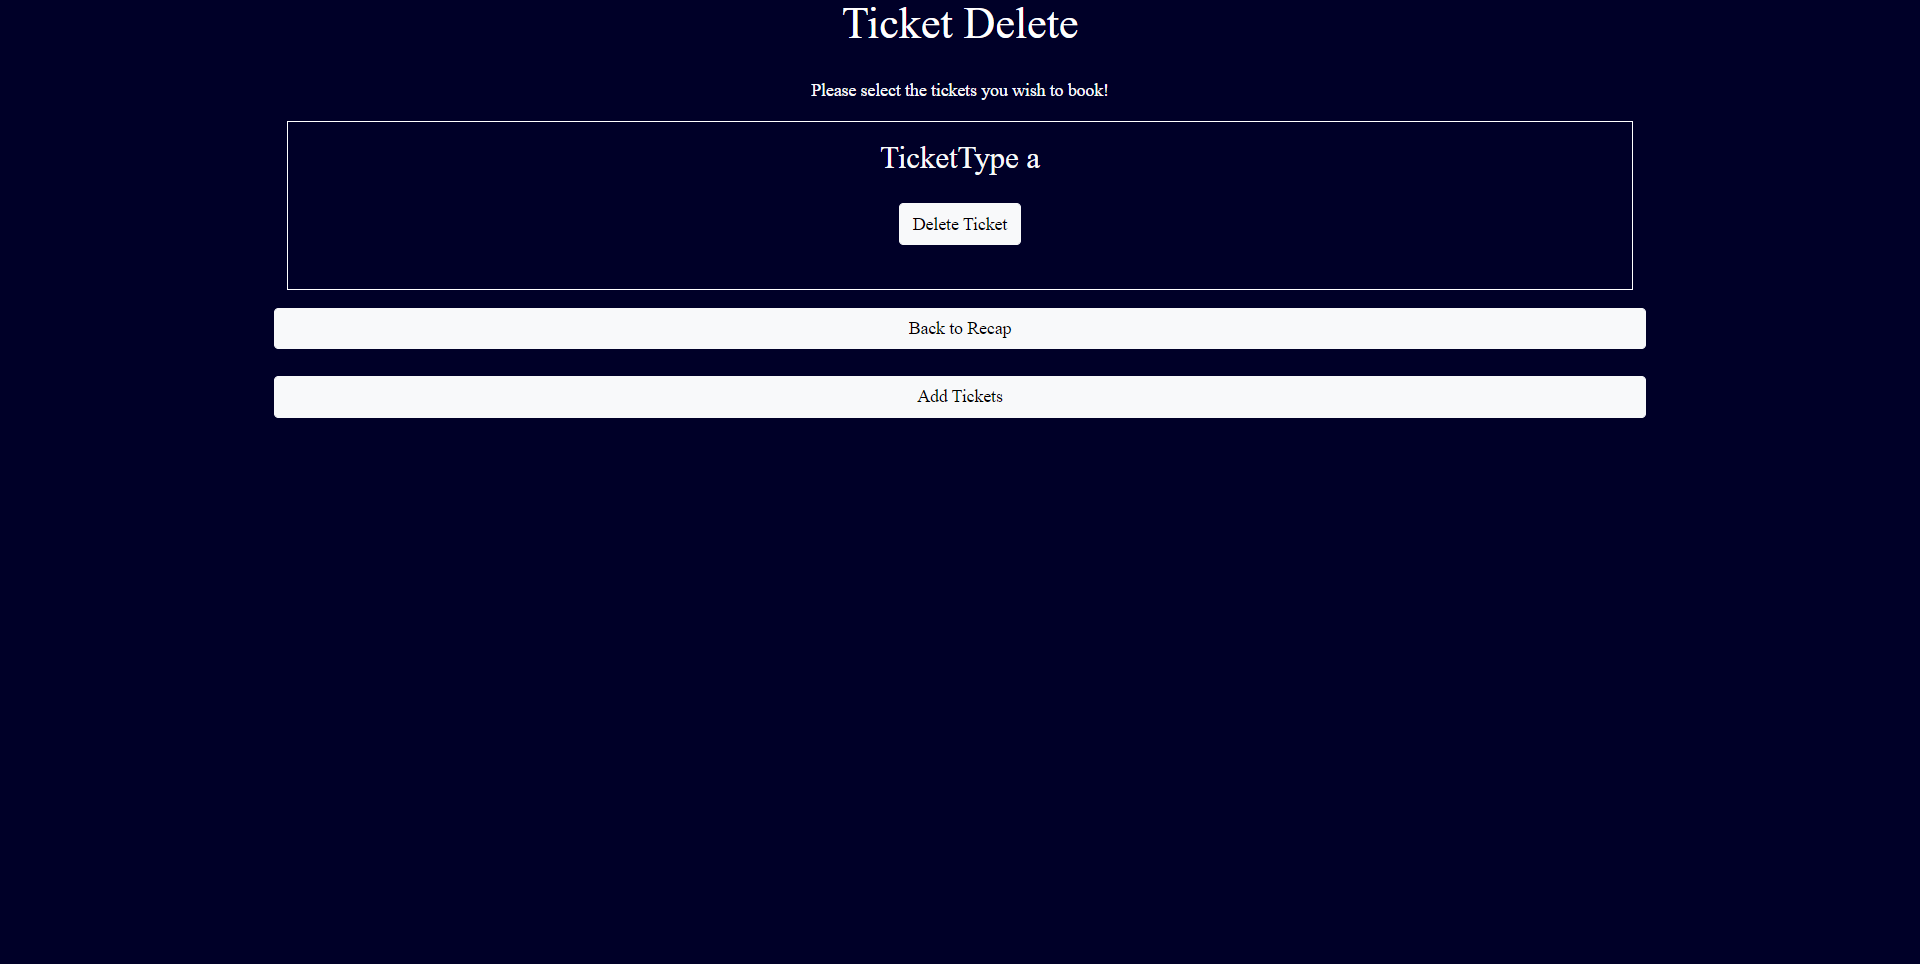
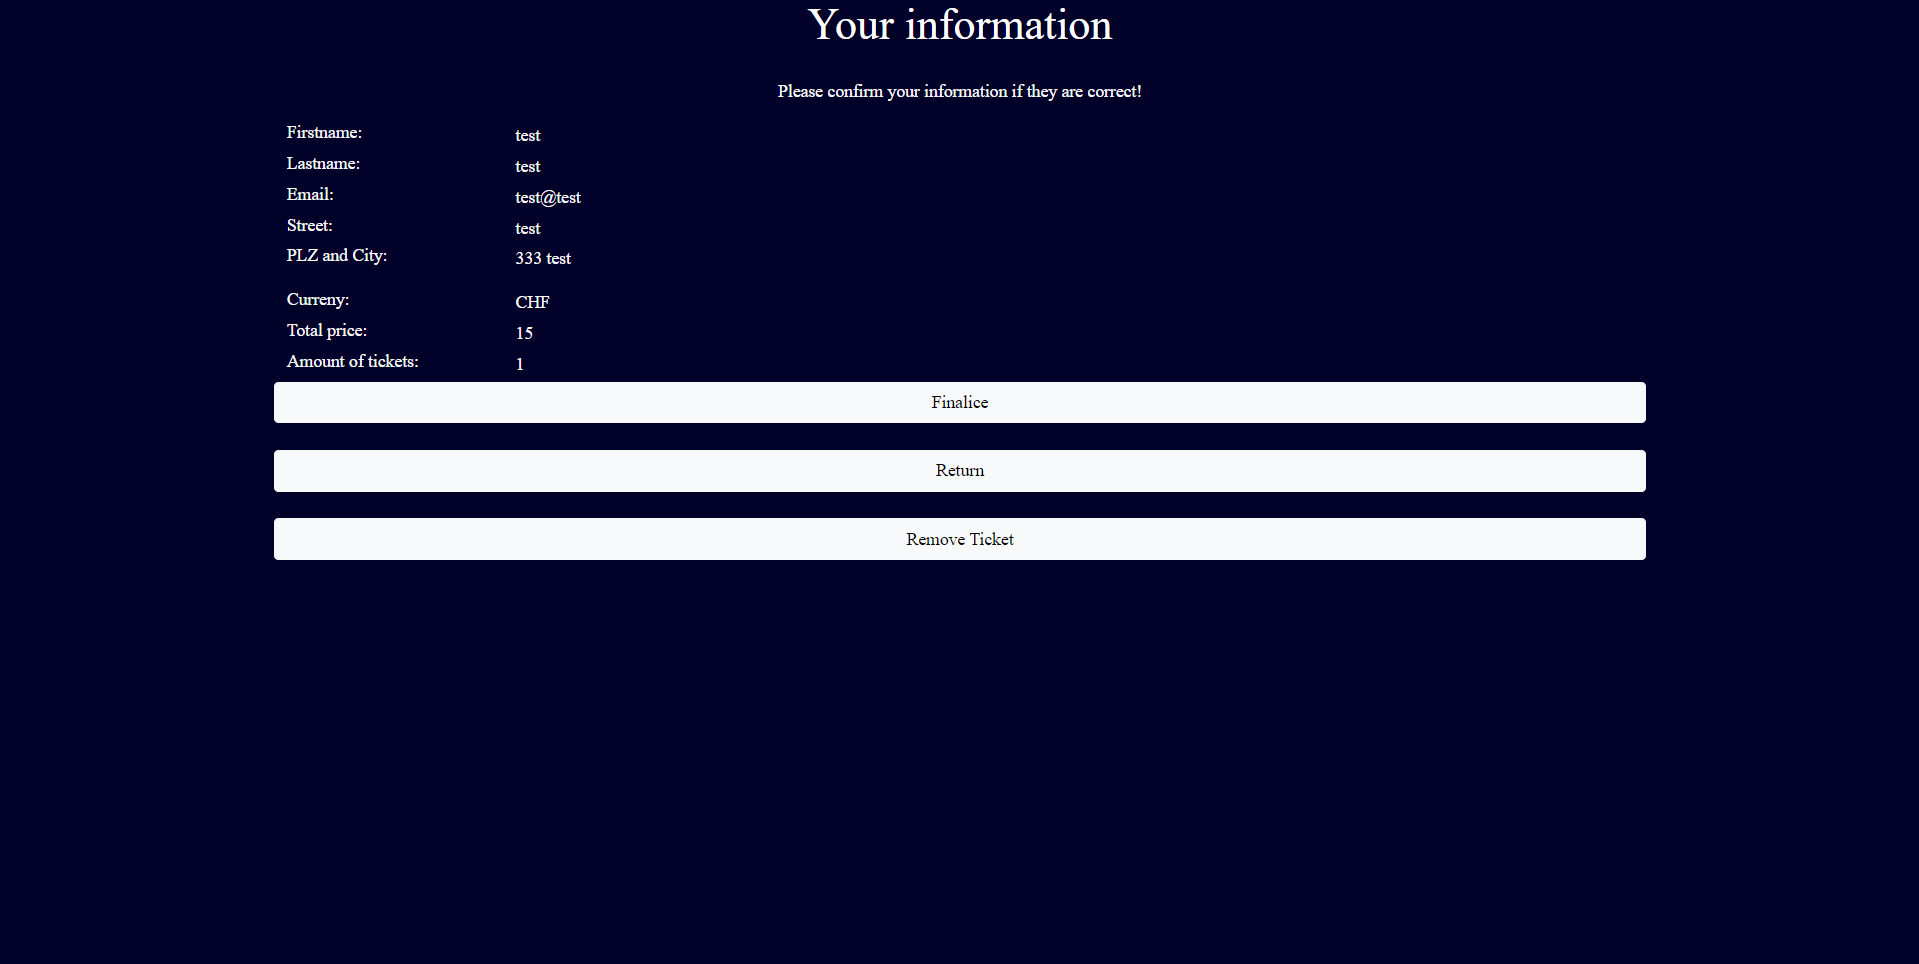
The example we have given is a simple “Bookingform” for an event in which the user is able to select a ticket or multiple and buy them. If the ticket is free one doesn’t need to pay for them, therefore there will be a split there, and two separate Code samples have been given for each case.
Project Creation and cleanup
After having created the project do quickly execute it, just to check that everything has been created properly and there no pre-existing errors or mistakes.
The first start of the project may take a bit longer than the following executions of the project.
Files to be removed:
src < components < Counter.js
src < components < FetchData.js
src < components < Home.js
src < components < NavMenu.css
src < components < NavMenu.js
src < App.test.js
src < reportWebVitals.js
src < service-worker.js
src < service-worker-registration.js
WeatherForecast.cs
Controllers < WeatherForecastController.cs
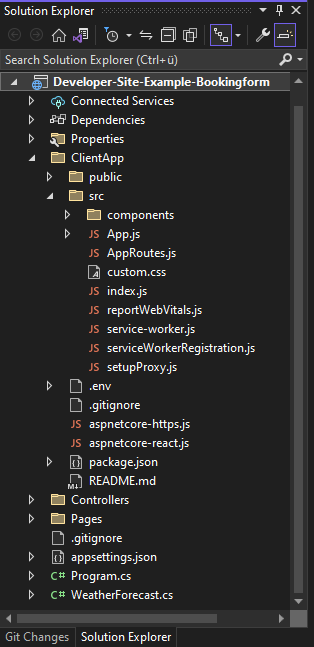
Newly created project
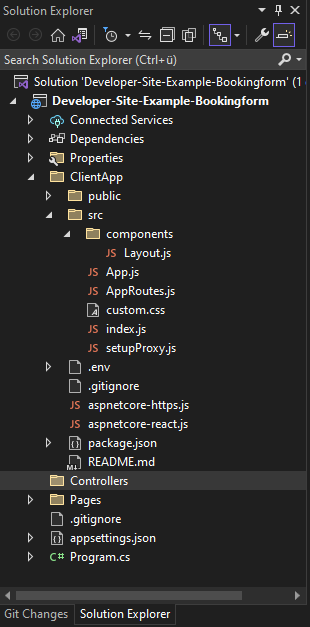
Cleaned up project
Inserting React structure and routing
To create our own page, we first need to create a new JS-file. Since the newly created page will always be displayed first when you enter the website, comparable to an Index-page, we will call it Home.js.
We will insert the React Structure and afterwards edit all the needed parts of code to make our page appear. As we have removed a couple of files, we also need to remove any dependencies which lie upon those files or else we would only have errors. Afterwards we will also edit the routing so that our newly created page gest displayed.
Files that need editing:
src < components < index.js
src < components < AppRoutes.js
src < components < App.js
Files that need cretion:
src < components < Home.js
Final Code of index.js
Final Code of App.js
Final Code AppRoutes.js
Base structure of Home.js
Authentication and Bearer Token
Before we start creating our Frontend and get lost within the endless possibilities of the CSS and HTML power, lets focus on our Controller and the authentication Token we need to make API calls. The authentication token is crucial part of our interaction with the API, in this example we are creating our token with static-user-information
In case you want a dynamic version which relies on the user-logging and then using their credentials please follow this link, there we will have an extend version of the code.
For the Controller we can simply create a .cs file within the Folder "Controllers". We also need to install IdentityModel within the NuGet Manager before proceding.
Code for BearerTokenController.cs with comments
We have now almost done all the configuration for the BearerToken We only need to change a small setting within the setupProxy.js to access our controller.

Project preparation